Kitchen Counter Organization That Leaves Room to Cook
As an Amazon Associate I earn from qualifying purchases. This article contains affiliate links.
Kitchen counter organization is most useful when it creates somewhere to cook. A perfectly coordinated line of jars can still leave you balancing a chopping board beside the sink. Start with the work surface you need, then decide what deserves to remain on it.
A practical counter arrangement follows the tasks you repeat: preparing food, making a drink, washing up and putting groceries away. These zones can be small and flexible. They do not require a collection of matching organizers or a full kitchen makeover.
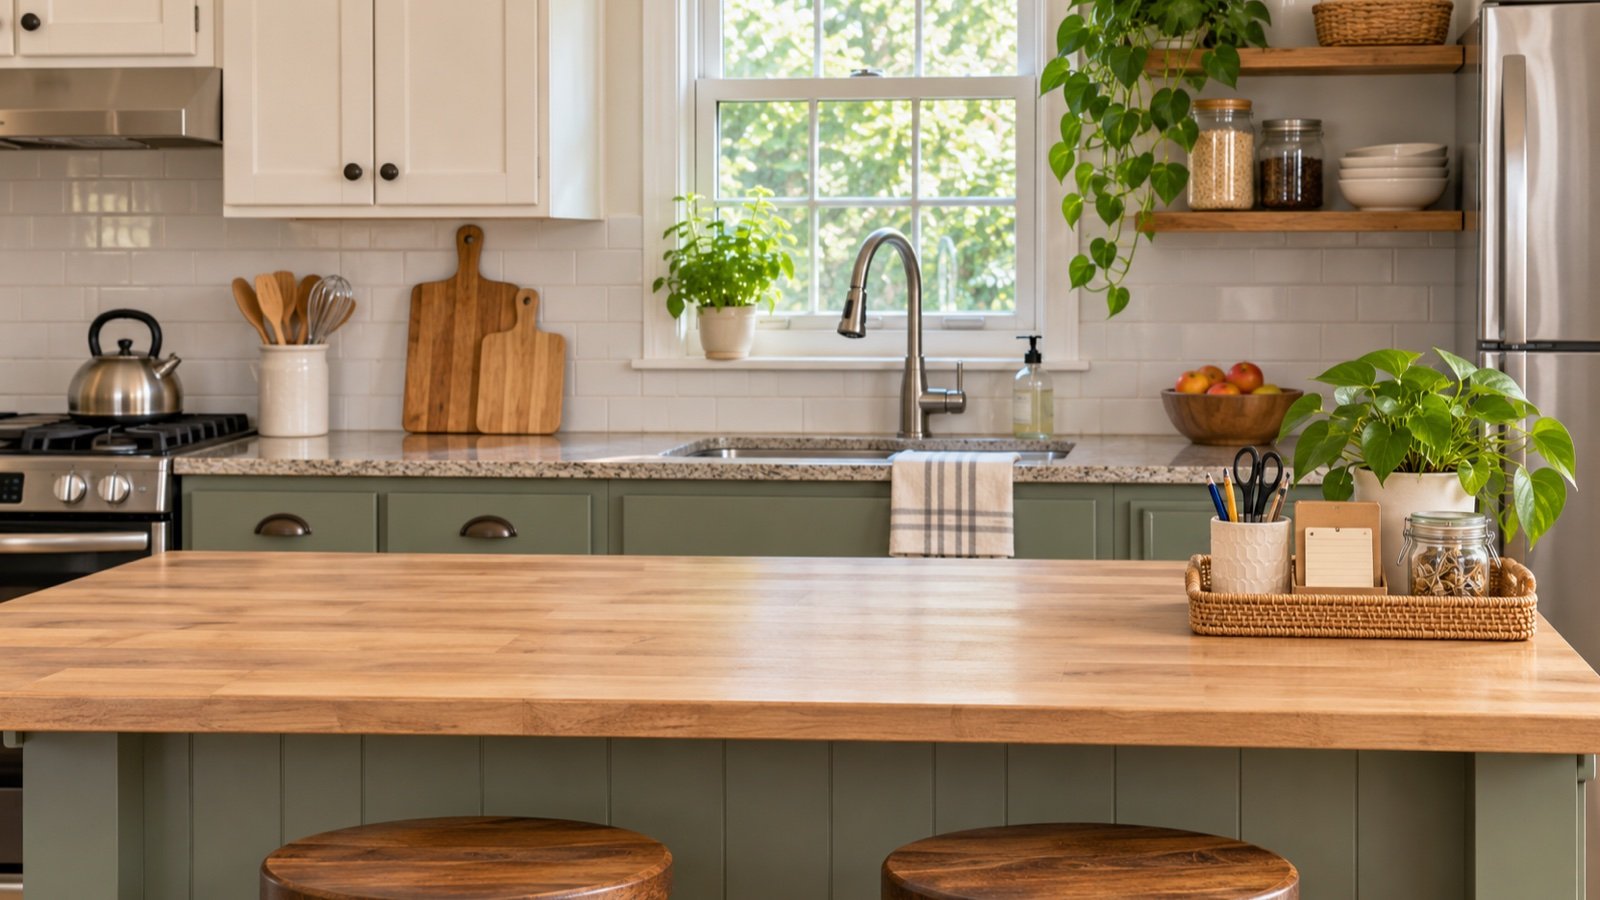
Featured image: AI-generated decorating inspiration, not a photograph of a tested makeover or a specific reviewed product.
Protect a preparation zone first
Clear one useful section of counter and make a meal with it available. Notice the board, ingredients and utensils you actually use there. Keep this area outside the footprint of permanent decorative displays. A tray can move easily, but the default should still be a usable surface. If your kitchen has almost no counter space, reducing stored appliances may help more than installing a shelf above every gap.
Keep appliances by frequency of use
List which appliances you use most days and which are occasional. Store suitable occasional equipment elsewhere if it is safe and manageable to move. Follow manufacturer requirements for use, ventilation and nearby clearances. Do not operate an appliance inside a cupboard unless its instructions permit it. A small-looking appliance can still require more working space than its body dimensions suggest.
Make coffee storage distinct from food preparation
Group everyday drink-making supplies close to their equipment without crowding controls, water access or ventilation. Keep a limited quantity on display and store backups appropriately. If the coffee area consumes the only preparation zone, shrink it to essentials or move the supplies to an accessible cupboard. The room should not become a coffee display that is difficult to cook in.
Use a tray as a boundary
A stable suitable tray can contain a few related supplies and make cleaning easier. Measure it against the usable surface rather than buying the largest one that fits. Keep bottles and containers accessible so the tray does not require dismantling during ordinary use. If the tray repeatedly migrates into the sink or onto the dining table while you cook, its contents need another home.
Add a riser only when both levels work
A compact riser can organize suitable dry supplies if you can reach underneath it comfortably. Check the internal height and the usable shelf above, including any handles or supports. Do not assume every item fits because the outer dimensions look right. Avoid creating a hidden back row that requires you to remove several objects before finding the one you need.
Treat the sink edge as a working area
Keep washing-up supplies contained and allow the surface and organizer to dry as appropriate. Select materials suited to the location. Remove decorative items that collect splashes or make cleaning harder. If a drying rack is necessary, measure the space while it is in use and decide where it belongs afterward. Do not count the same strip of counter as both permanent storage and available food-preparation space.
Give incoming clutter an exit
Mail, bags and household objects often arrive on a kitchen counter because it is the first flat surface nearby. Create a practical landing spot elsewhere and return unrelated items there. A small daily reset can keep the arrangement useful without requiring a completely styled kitchen. If a category returns every day, solve where it belongs rather than simply hiding it inside a decorative box.
Compare the options
| Option or situation | Useful starting point | Check before choosing |
|---|---|---|
| Clear cooking surface | Open preparation zone | Board and ingredient space during a real meal |
| Daily drink supplies | Small contained coffee zone | Controls, filling and manufacturer ventilation |
| Occasional equipment | Suitable secondary storage | Safe lifting and access when needed |
| Small everyday dry items | Tray or riser | Usable internal dimensions and easy cleaning |
A worked planning example
Imagine a 48-inch counter section with a 16-inch-wide coffee arrangement and a 12-inch-wide drying rack. Only 20 inches remain before allowing for actual projections. This is not a universal prescription for a kitchen; it is a way to see why a counter feels full. Draw the equipment at its operating size and make one ordinary meal. Then move the least-used category off the counter before buying a new organizer. The example is illustrative, not a photograph of an actual kitchen reset.
What to compare when shopping
The links below open Amazon searches for product categories, not verified exact-product recommendations. Check the specific listing, size, variant and manufacturer instructions before purchasing. No price, availability or physical testing is implied.
Counter trays
Check stability, material suitability and complete footprint.
Compare counter trays on Amazon
Compact risers
Measure usable space between supports and underneath.
Compare compact risers on Amazon
Utensil storage
Choose capacity for daily tools, not every gadget you own.
Compare utensil storage on Amazon
For more ideas, explore coffee bar ideas and small apartment decorating.
Frequently asked questions
How do I organize a kitchen counter with little space?
Reserve a preparation area, keep only frequently used equipment out and move unrelated belongings to a defined home.
Should every appliance stay on the counter?
No. Consider frequency of use, safe handling and manufacturer operating requirements before choosing its storage location.
Do counter organizers create more space?
They may make existing space easier to use, but supports, shelves and inaccessible rows can also consume it. Measure the actual usable area.
How do I keep a kitchen counter looking calm?
Limit visible categories, contain small related items and leave genuine empty working space. Matching containers are optional.